Welcome to Financials for Office 365
Financials for Office 365 is an easy-to-use, online accounting software designed for small businesses to manage their finances and stay on top of their cash flow.
This user guide is designed to help you understand how to use Financials for Office 365.
If you haven’t signed up for Financials for Office 365 already, click here for instructions.
If you’ve already signed up and wish to configure your account to suit your requirements, head over to the Settings section to know more.
Accessing Financials for Office 365
To access Financials for Office 365, all you need is a web browser and a working internet connection. If you’re a mobile user, you can download the Financials for Office 365 mobile application for iOS, Android and Windows.
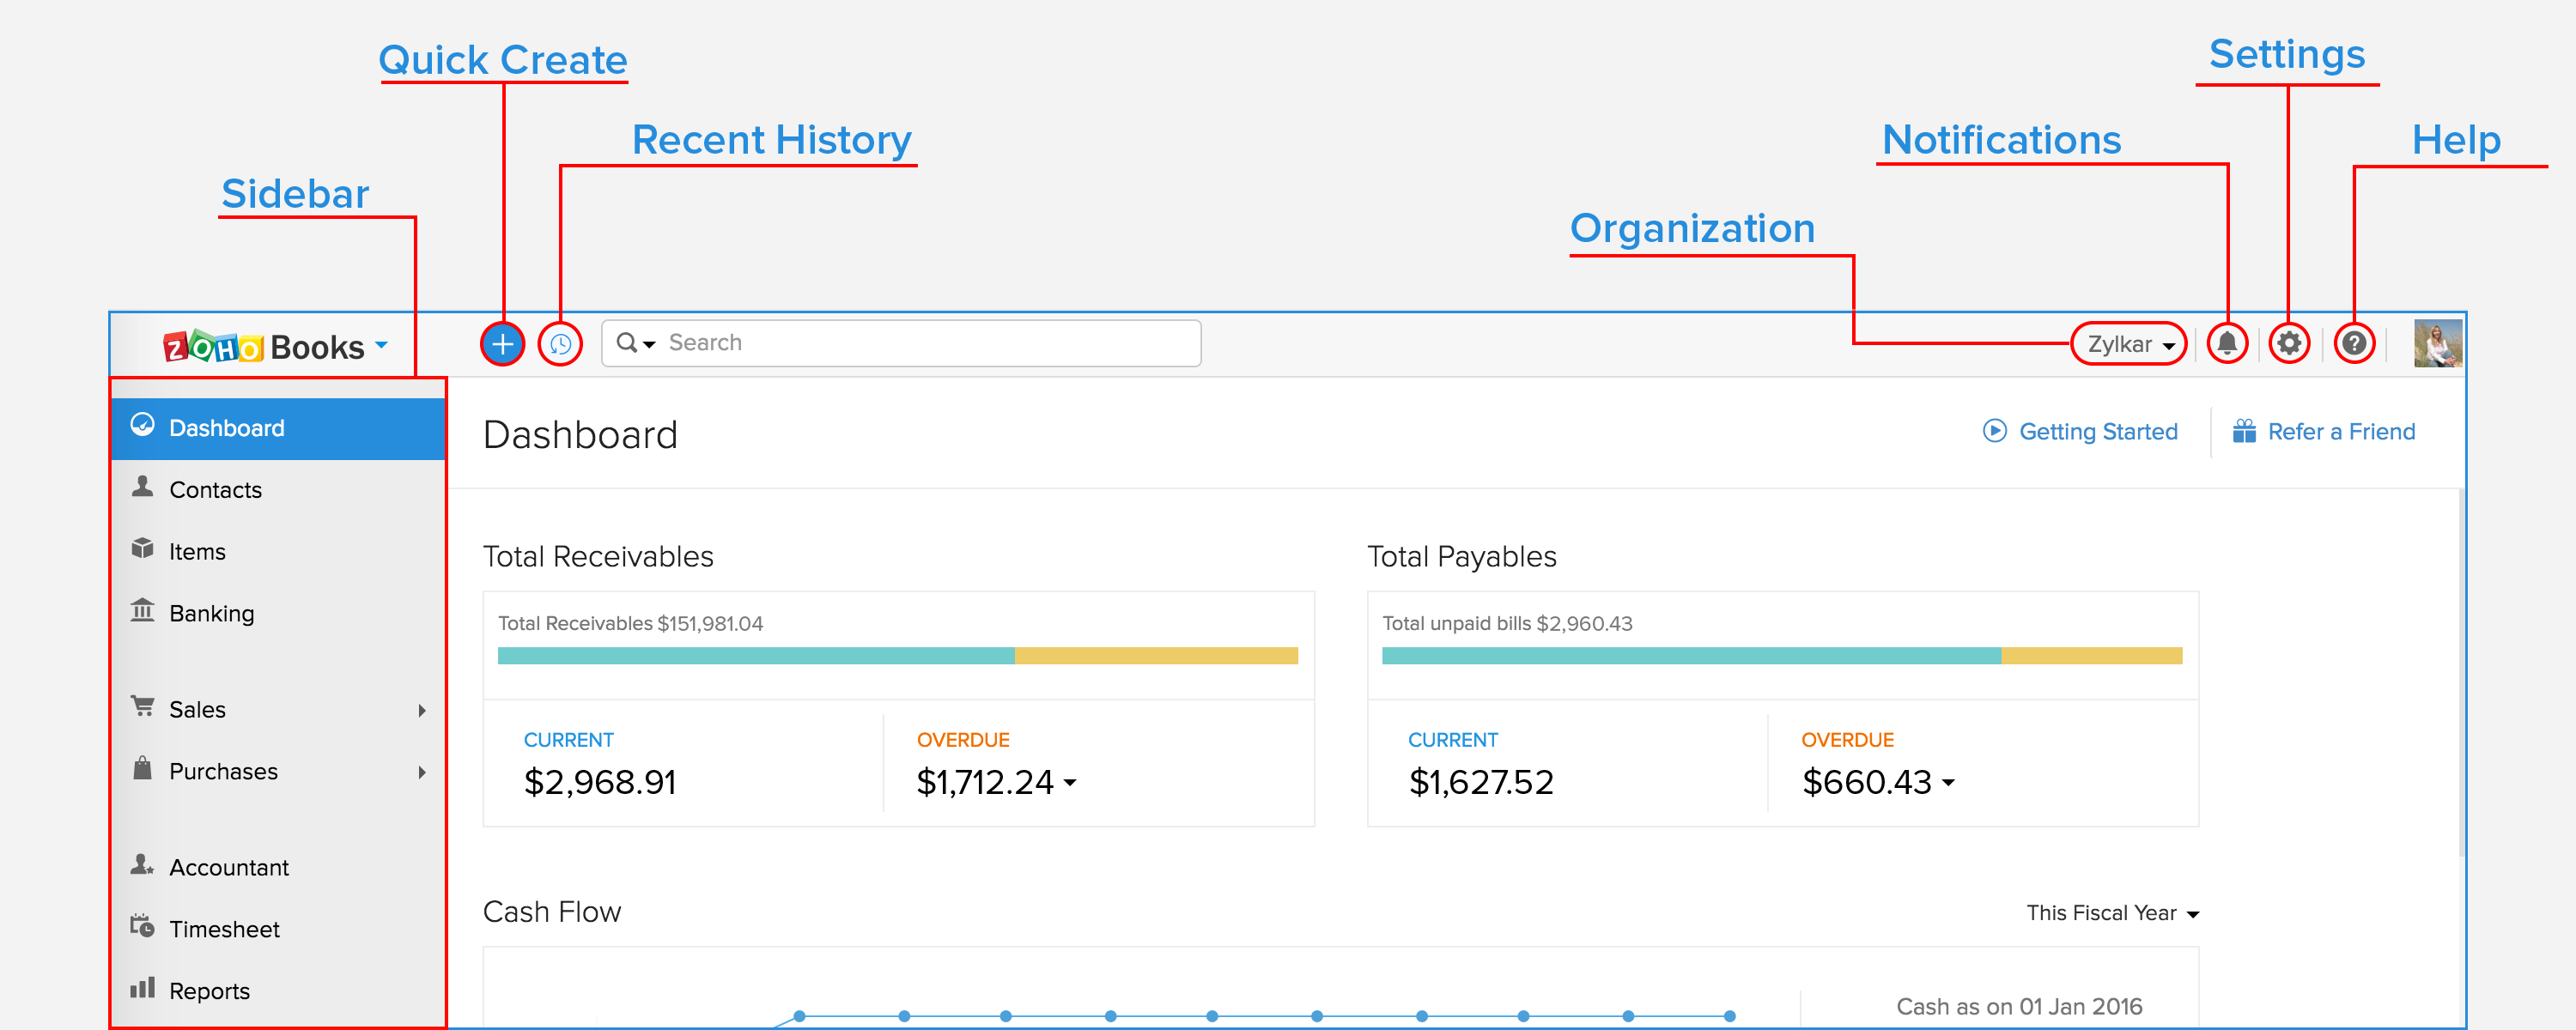
Getting to Know Financials for Office 365
-
Dashboard - Gives an overview of your company’s total receivables & payables; top projects; and a lot more. To know more about various sections of the dashboard, click here.
-
Sidebar - Allows you to switch between different modules of the product. You can raise estimates, invoices, etc. from the Sales module; Record expenses, bills etc. from the Purchases module.
-
Quick Create - Instantly create transactions with a single click.
-
Settings - Lets you access the settings section, where you can configure and customize Financials for Office 365 for your business.
-
Help & Support - The help icon gives you quick access to the help documentation or contact our Support team.
-
Notifications - Notifies you on what’s happening in your client portal and also updates you on the new features that have been added to the product.
-
Organization - Allows you to manage/switch between multiple Financials for Office 365 organizations.
-
Recent History - View recently visited transactions.